DIY Grow Kit Instructions
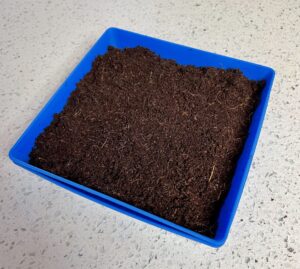
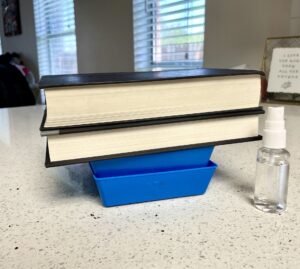
Welcome to the instructions page for your Do-It-Yourself Microgreens Grow Kit! You’re on the right path to embarking on a wonderfully tiny (but mighty) journey in growing your own food. Please follow along with the instructions below to get started. Happy Growing!
Supplies List:
- (1) 5x5in tray with holes
- (1) 5x5in tray without holes
- (1) reusable mini spray bottle
- (4) coco coir pucks
- (4) pre-measured packs of seeds
Step 1 - Soil Prep
Place 1 coco coir puck in a small bowl and pour 1/2 cup of water into the bowl. The coco coir will fully expand within a few minutes.

Step 2 - Soil Pour
Break up any clumps in the coco coir. If any pieces are still dry or stuck together, try adding a little bit more water.
Pour the coco coir into your 5x5in tray with holes. Evenly spread across tray and firmly pat down.

Step 3 - Seed Time
Choose a packet of seeds and evenly sprinkle over coco coir. No need to press down or bury the seeds.
Note: Don’t forget to pre-soak seeds if packet is labeled to do so (applies to Sunflower, Peas, and Wheatgrass)

Step 4 - Misting and Weights
Lightly mist seeds with spray bottle and place tray without holes on top of seeds.
Place a weighted object (ex. a couple of books or paper weight) to add slight pressure. This will act as if the seeds are buried underground.
Keep in a cool dry area like a kitchen countertop.

Step 5 - Now We Wait...
For the next 3 – 4 days, check on your seeds daily and lightly mist to prevent drying out. Make sure not to saturate the seeds with too much water,
Your seeds will begin to germinate during this time. If you see white fuzzy hairs on or around the seeds, don’t panic. These root hairs, or cilia, are normal. Seeds use them to absorb water and nutrients from the soil.

Step 6 - Lights!
Once your seeds have all sprouted enough (about 1 inch tall), remove the top tray without holes and fill with 1/4 cup of water.
Nest the seeded tray with holes into the water tray without holes. This process is called bottom-watering.
Place your microgreens in a dry, well-lit area. A window that gets 8-10 hours of sunlight is ideal. However, LED lights (on a kitchen counter for example) work perfectly well so that your microgreens can absorb light energy. Just be sure to turn them off at night.

Final Steps
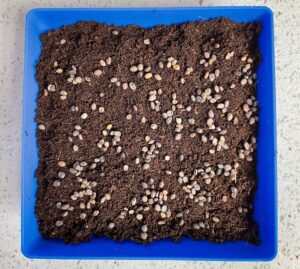
For the next few days, bottom-water your microgreens daily with 1/4 cup of water. They will begin to quickly grow and turn greener as they are exposed to light.
Once your microgreens have grown 2-3 inches, you may notice them start to form a new set of leaves, also known as true leaves. This is a sure sign that they are ready to harvest.
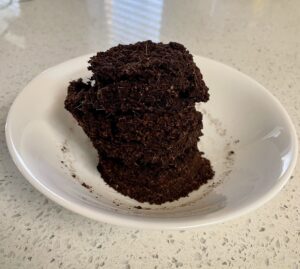
You can harvest them using a sharp knife or a clean pair of kitchen scissors – then enjoy!
You can toss the soil remains into your backyard or compost. Give your trays a wash and repeat the steps above with a new batch of seeds
